Wells Golf Club


The Course
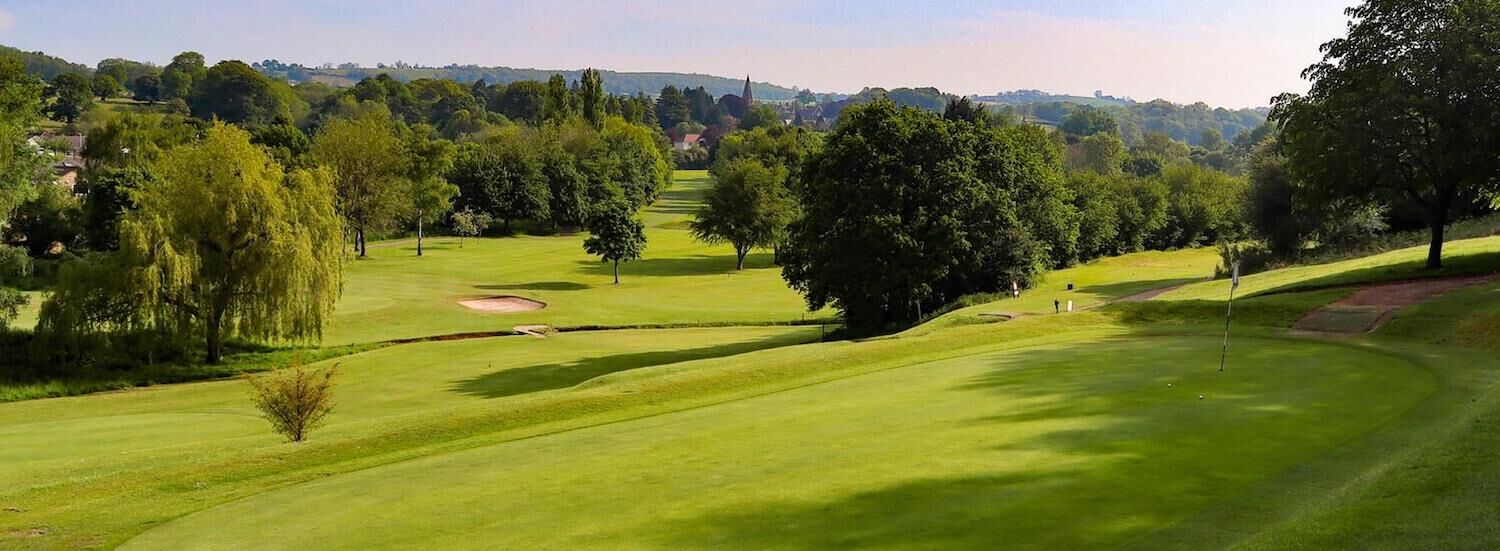
A beautiful 18 hole parkland course...
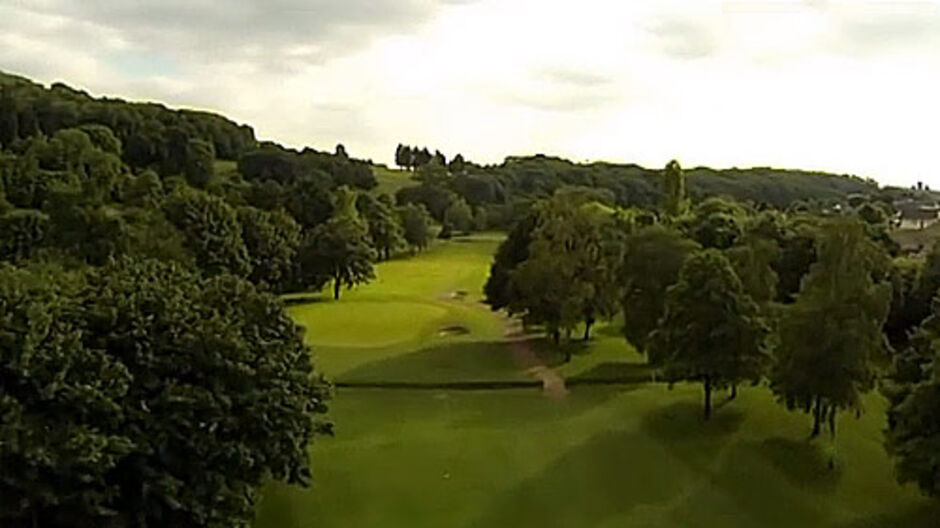
Our woodland course is designed on two levels, Holes 2 to 11 circle the hills and have fine scenic views with undulating fairways and some interesting lies.
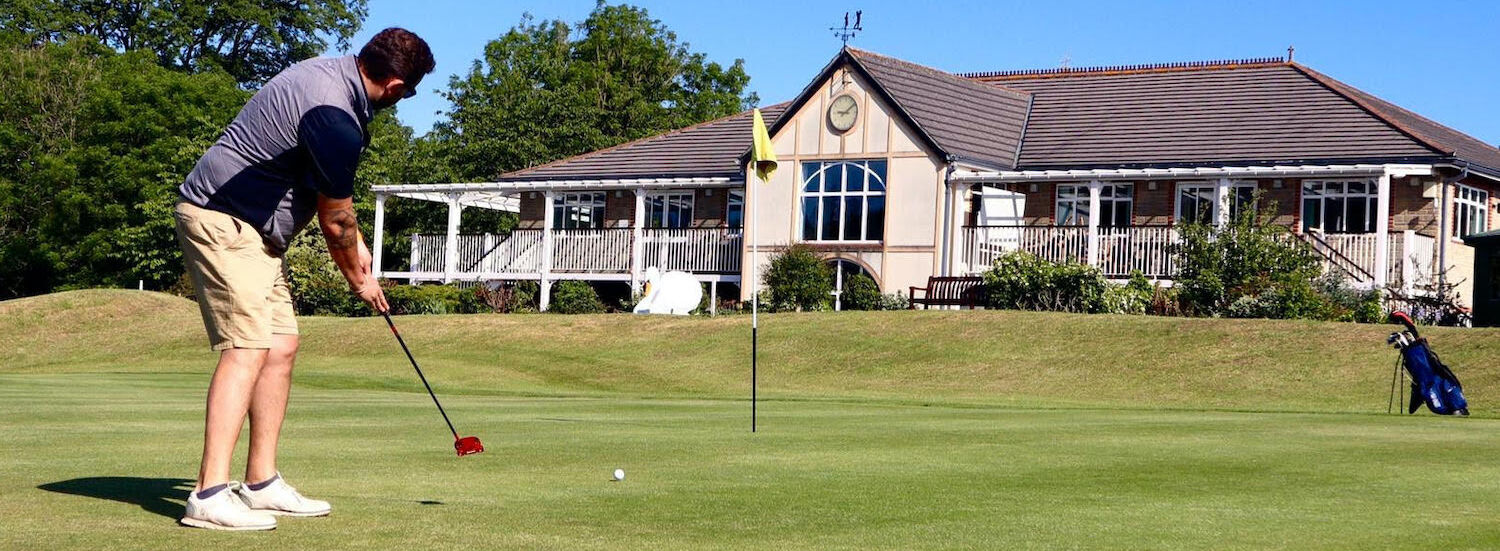
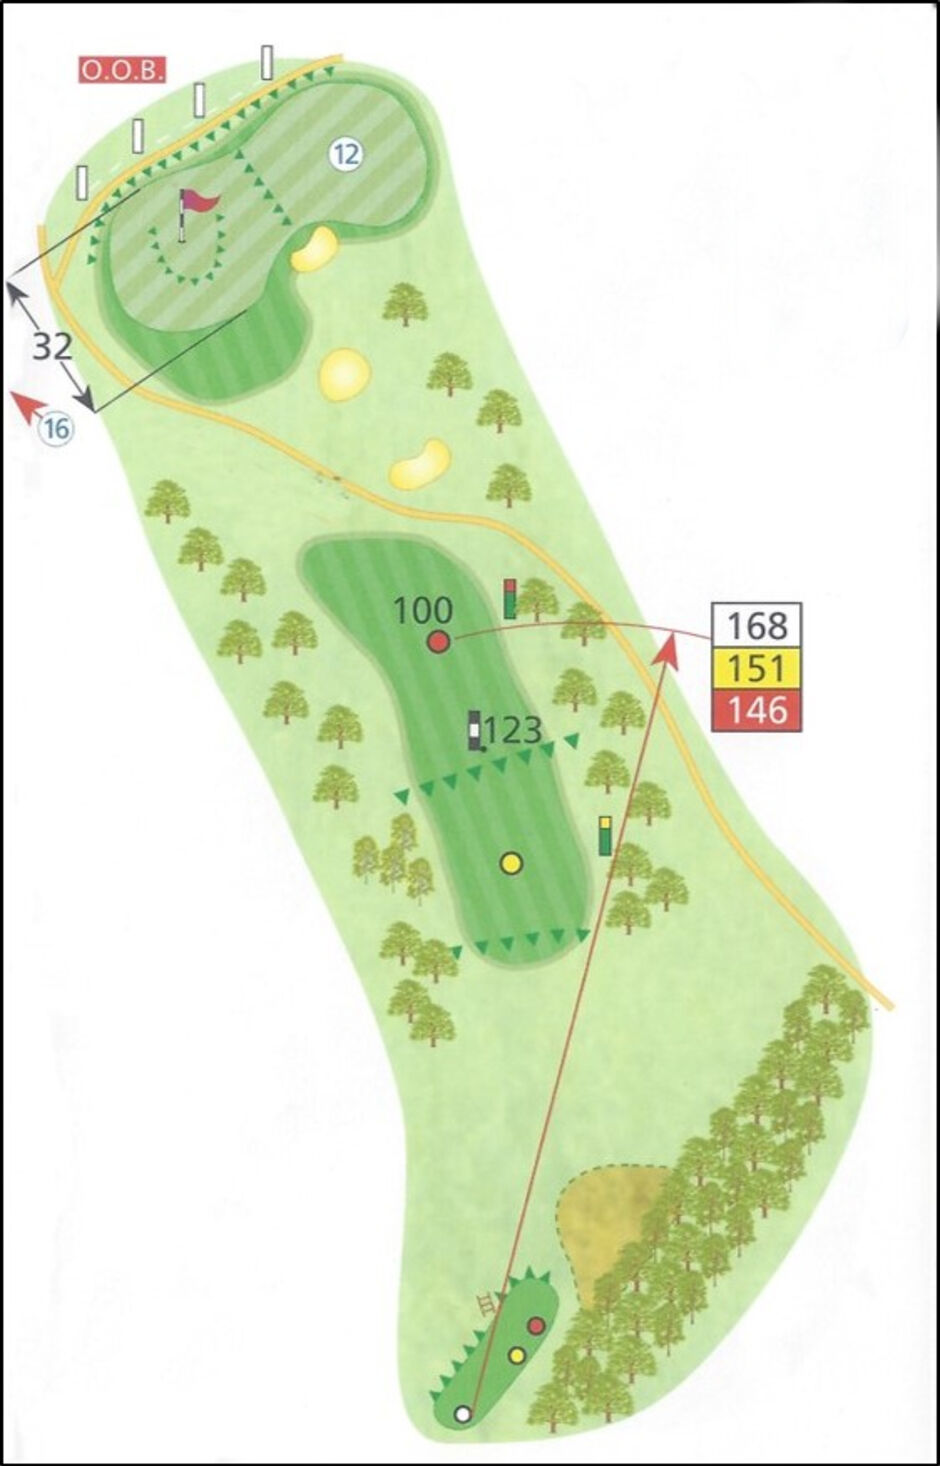
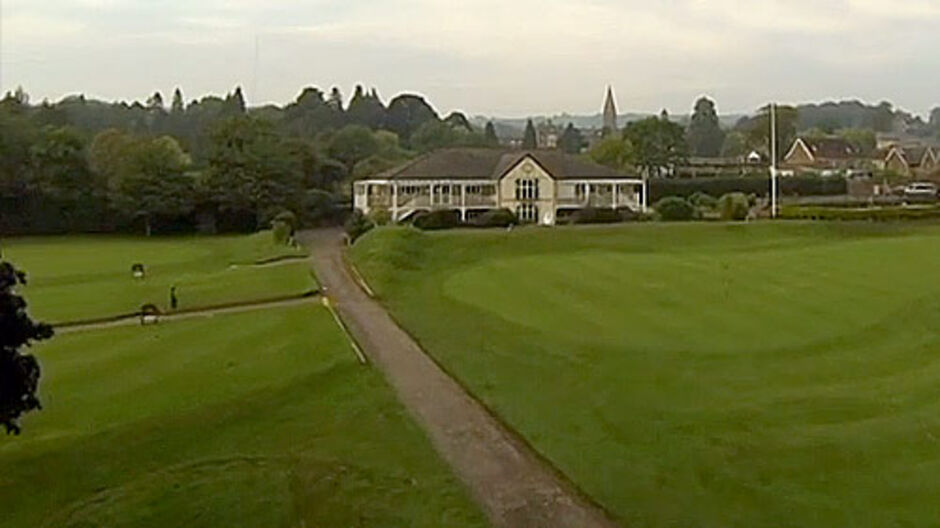
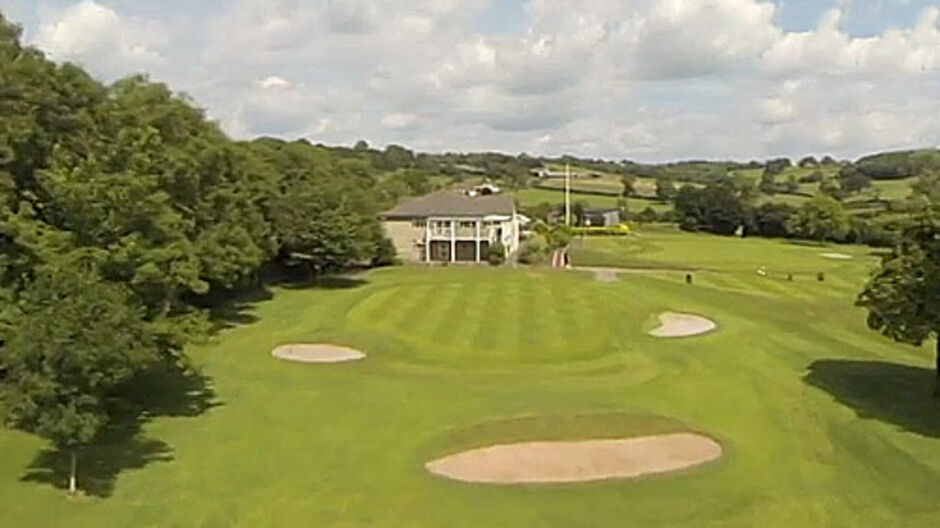
The 12th Hole, from its elevated tee, is played down to a double green in front of the Clubhouse. It is a short dog-leg par 4 which can be driven by the longest hitters.
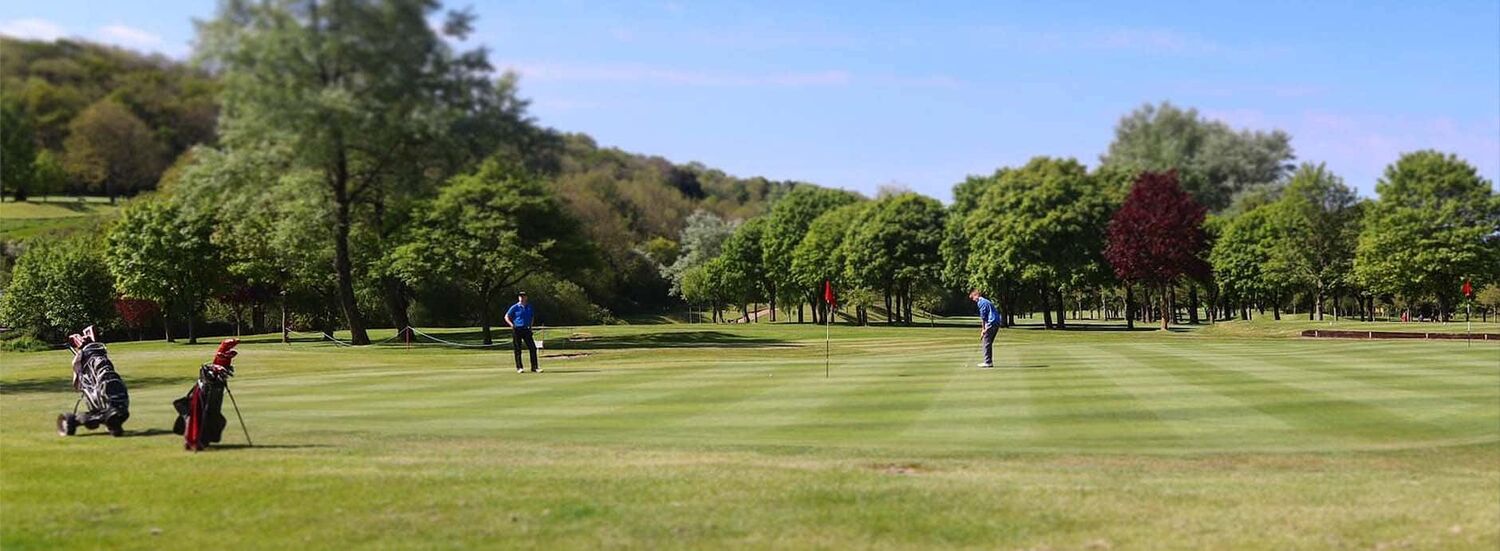
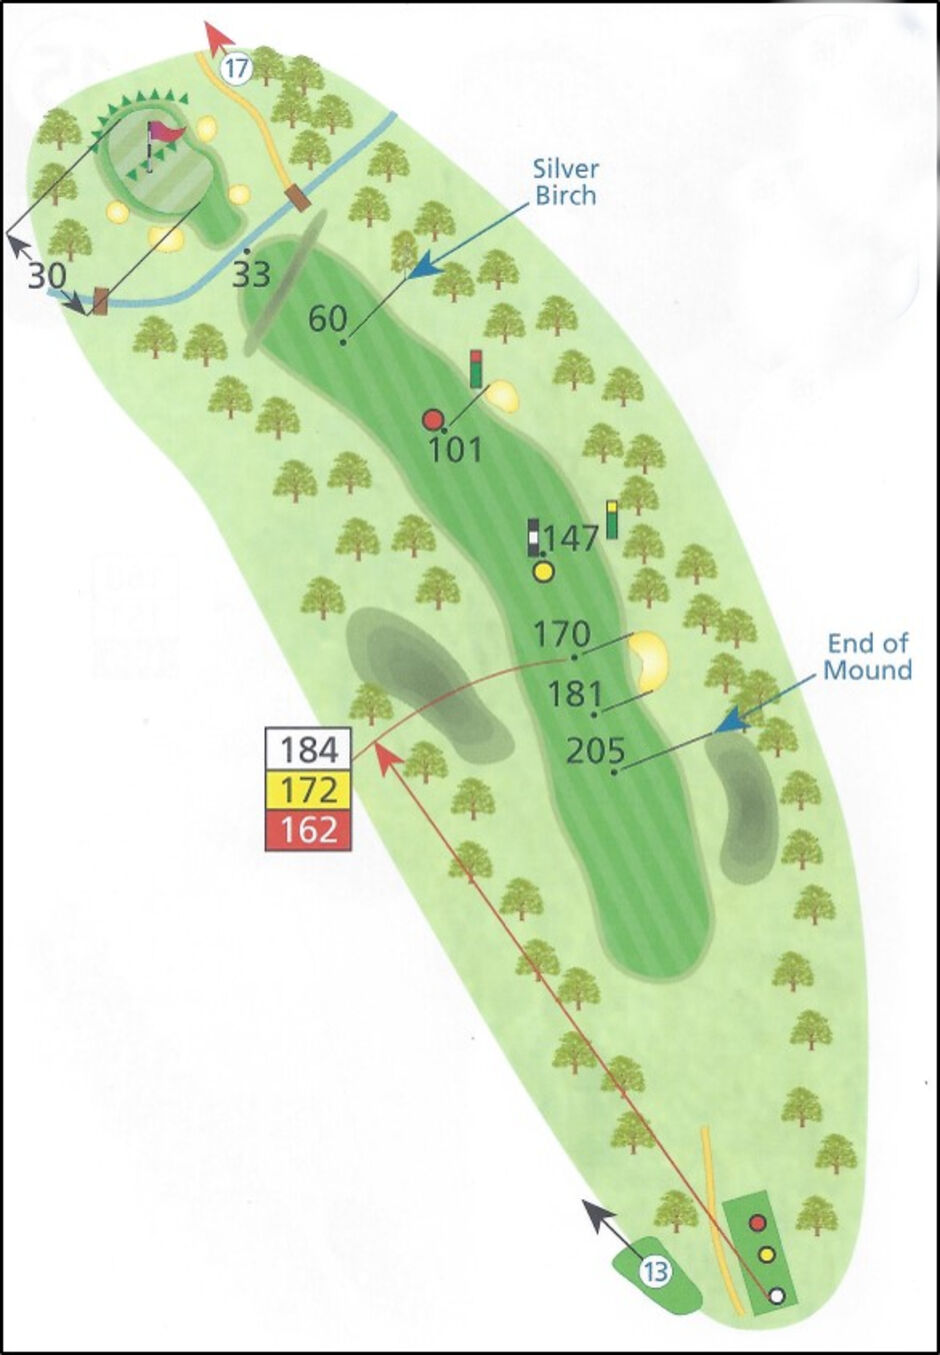
The remainder of the holes play along the valley where accurate drives are essential. The 13th Hole is a difficult par 5 with ditches crossing the fairway in two locations. The second shot must be positioned with care.
Scorecard
Pros Tip
Hole 1 - Par 4
YELLOW - 312 YARDS
RED - 303 YARDS
Pros Tip
Take dead aim at the marker post as the fairway slopes from left to right, then play for the middle of this 3 tiered green, a shot coming up left, right, short or long normally results in a dropped shot or three!
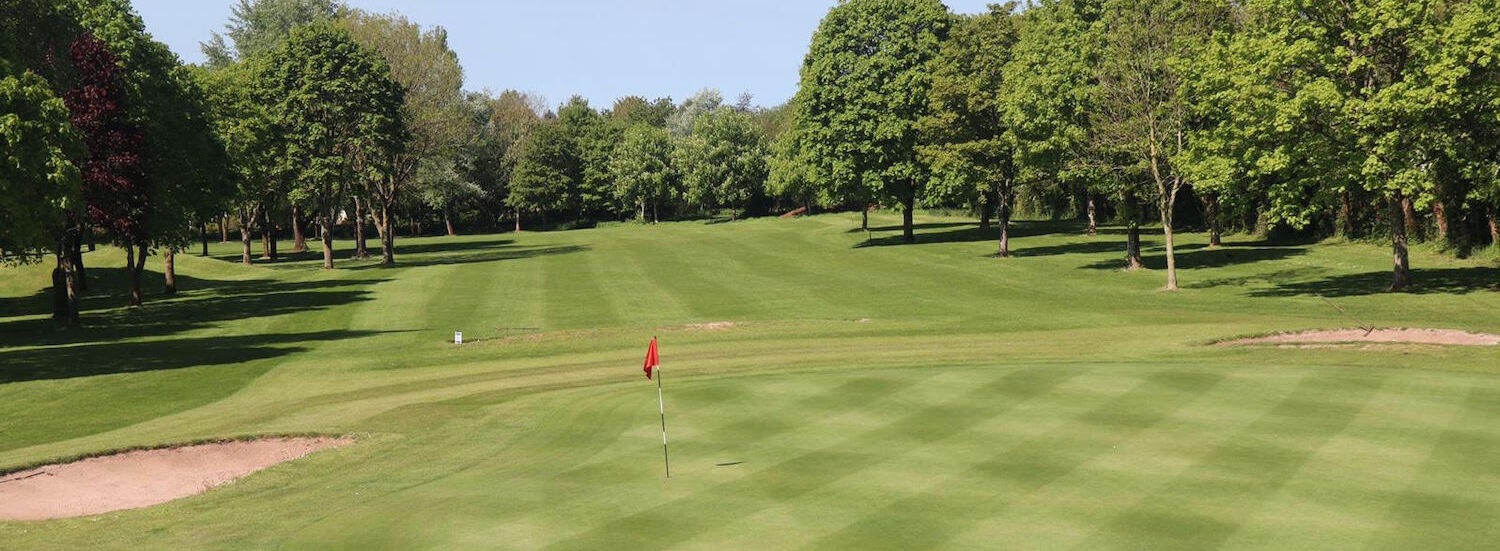
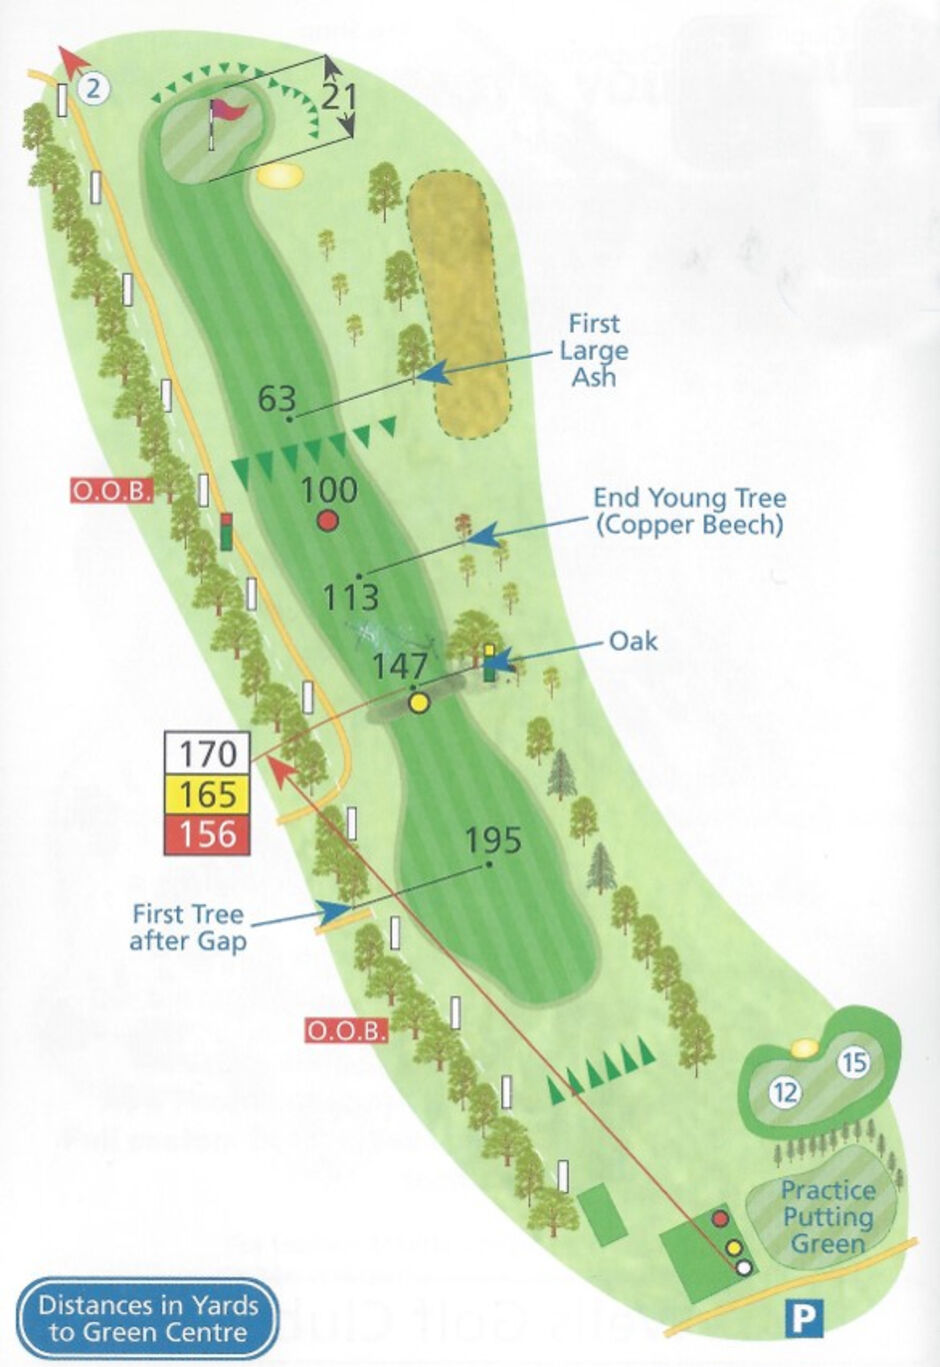
Hole 2 - Par 4
YELLOW - 333 YARDS
RED - 321 YARDS
Pros Tip
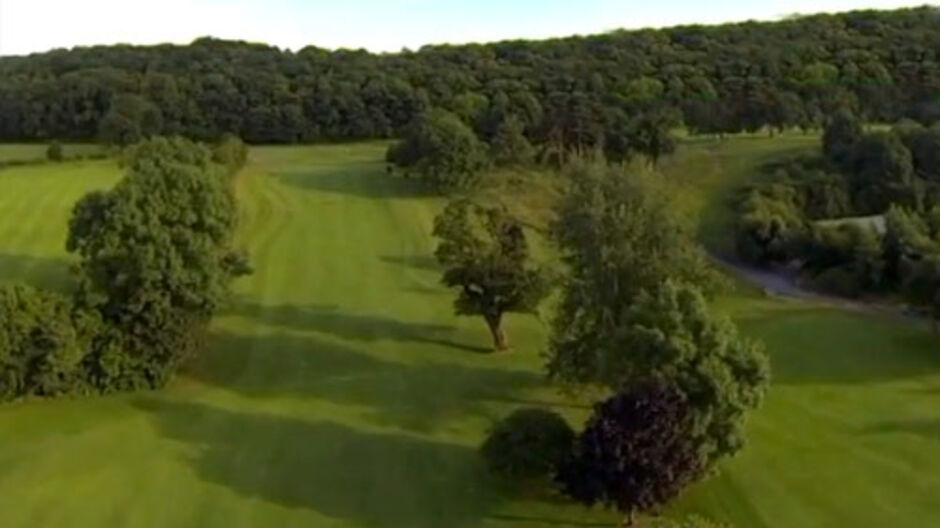
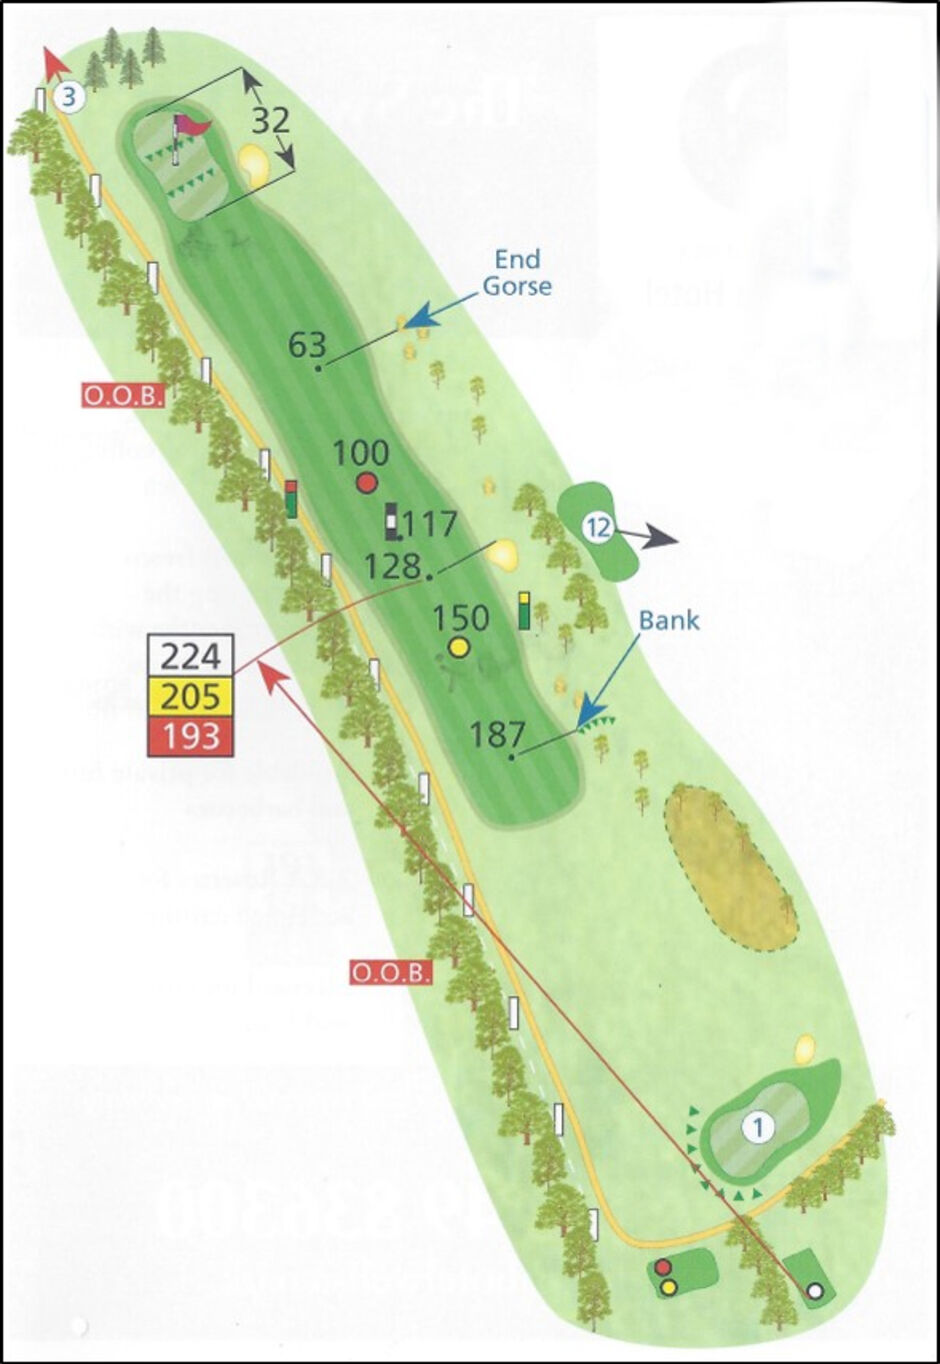
Hole 3 - Par 4
YELLOW - 400 YARDS
RED - 380 YARDS
Pros Tip
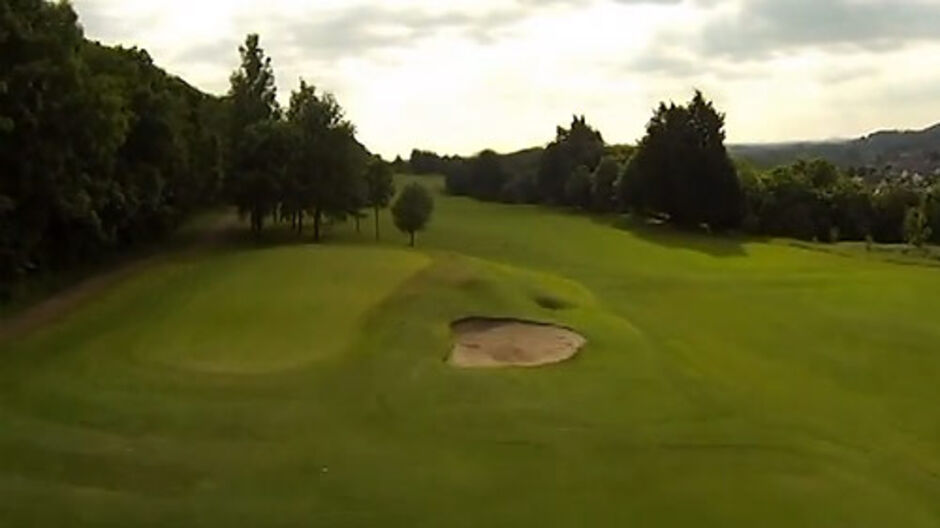
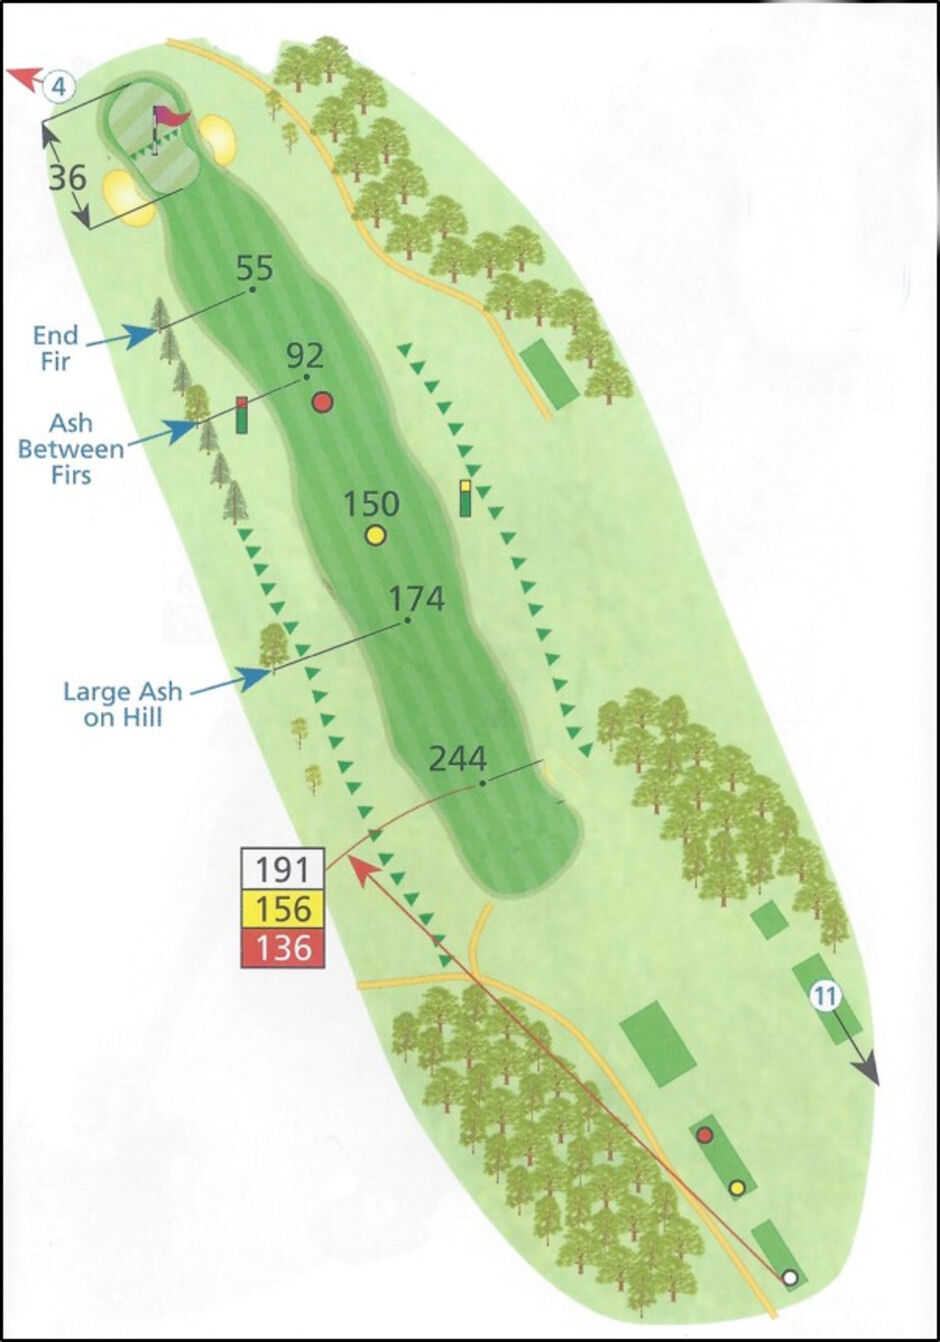
Hole 4 - Par 4
YELLOW - 358 YARDS
RED - 325 YARDS
Pros Tip
Try and avoid going right on this hole and this can prove difficult as the wind can change in the new land. The green is deceivingly long, however a shot to the middle of the green will not be too far away for a 2 putt or even a birdie. A little view of Glastonbury Tor will also be available on this hole.
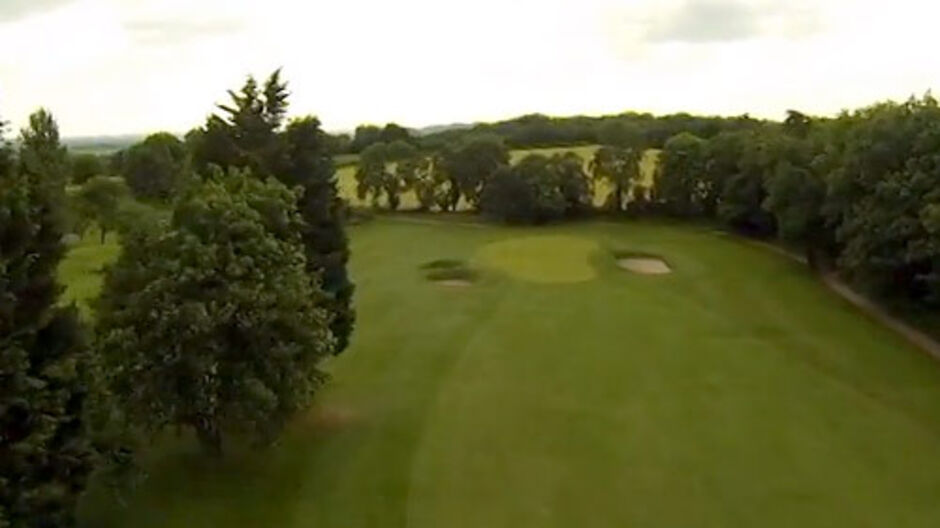
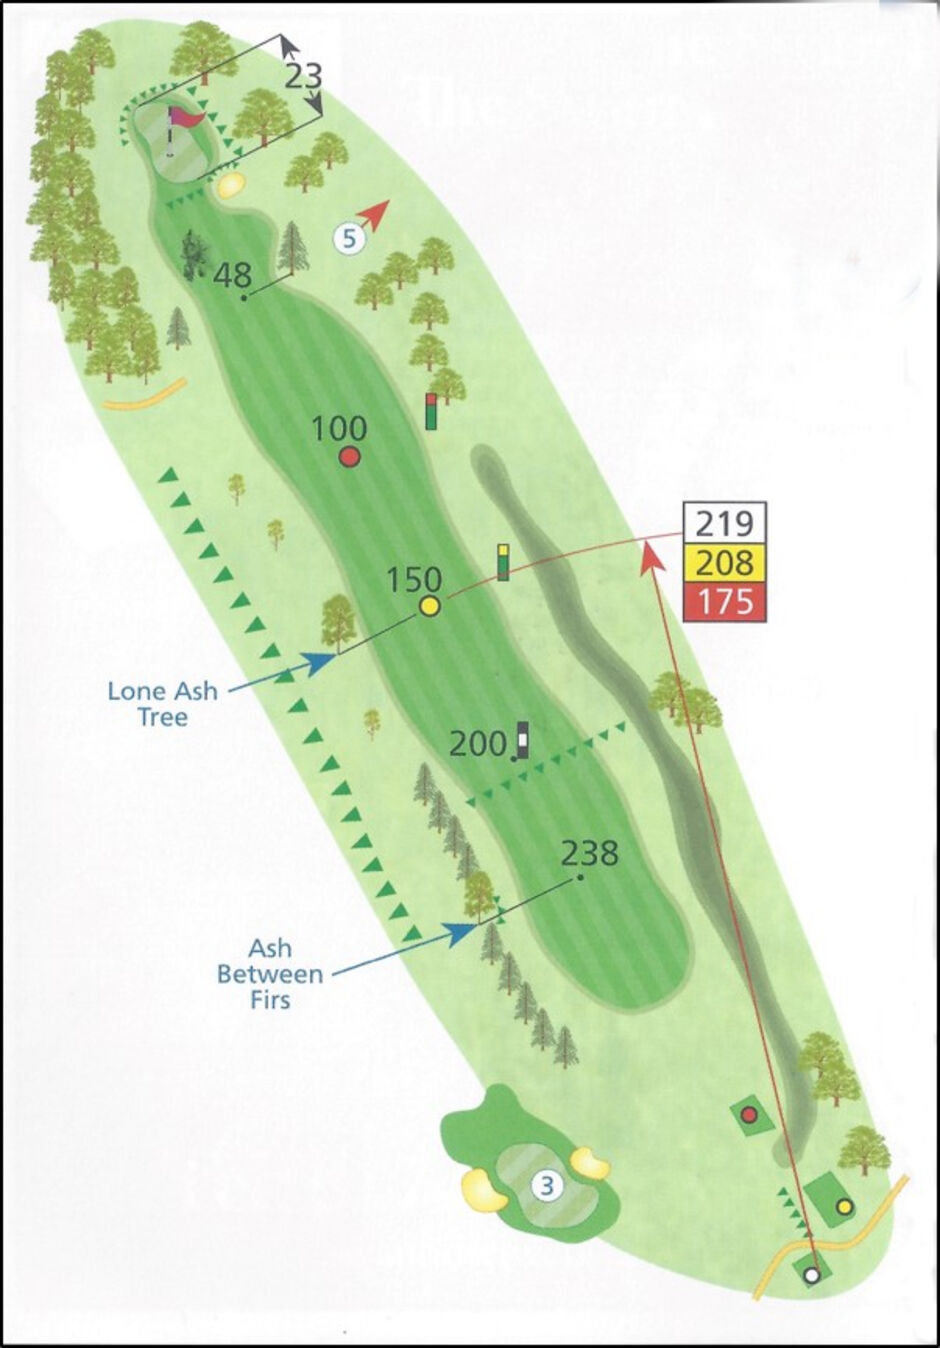
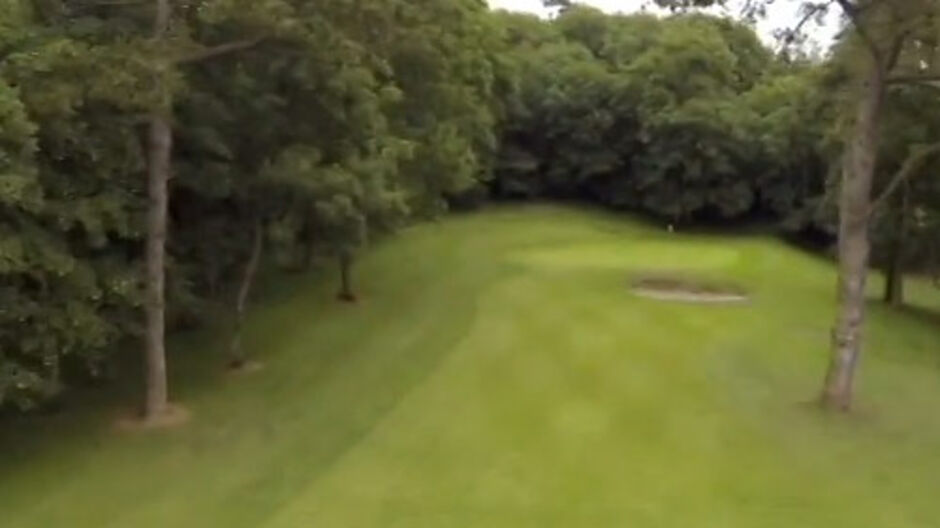
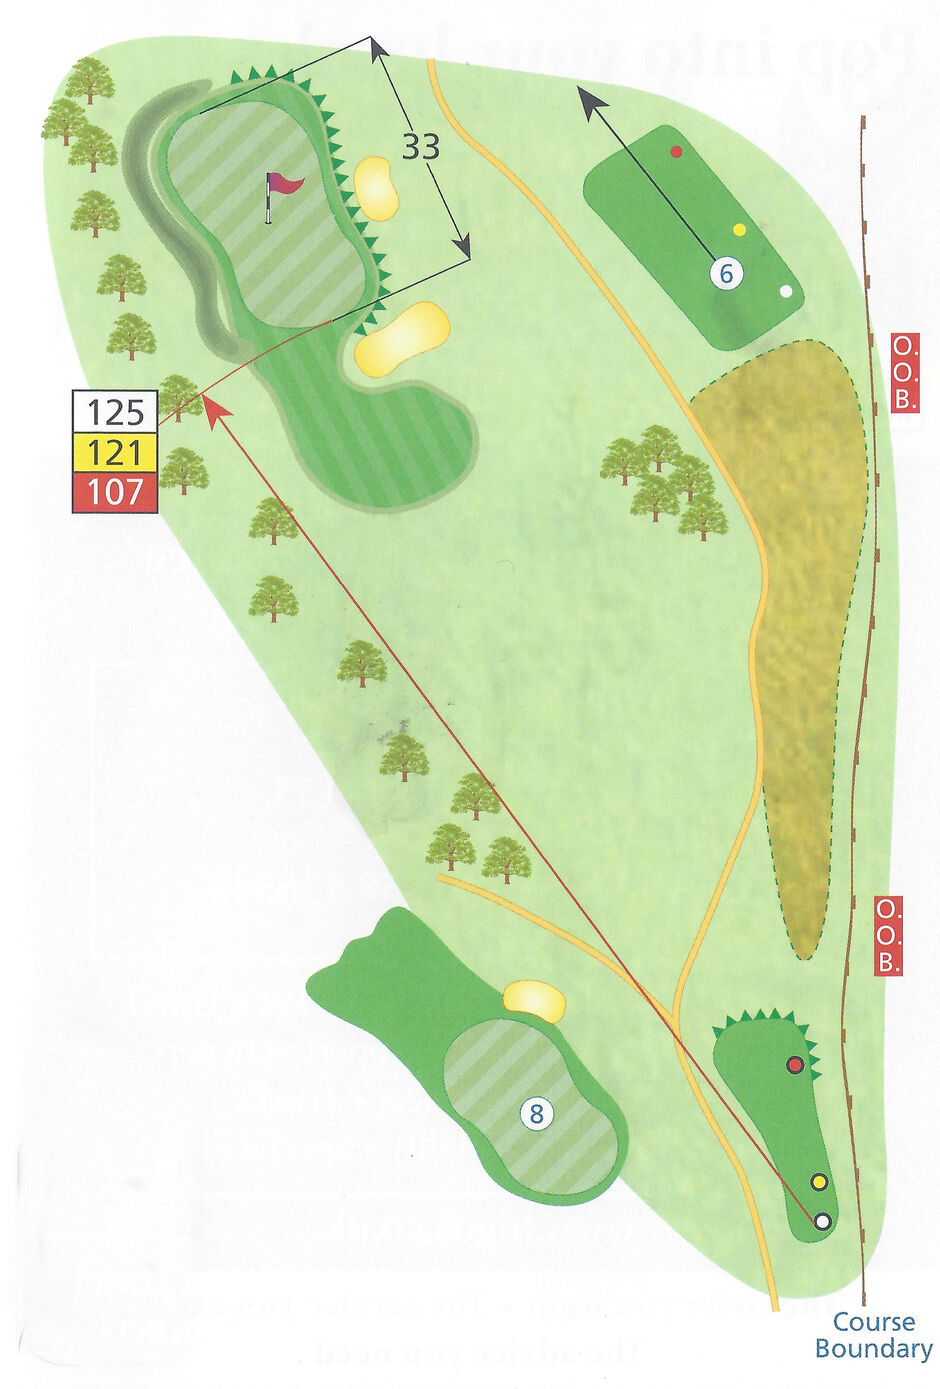
Hole 5 - Par 3
YELLOW - 138 YARDS
RED - 124 YARDS
Pros Tip
Hole 6 - Par 4
YELLOW - 297 YARDS
RED - 288 YARDS
Pros Tip
This hole plays longer than it looks and favours the faders of the ball. A shot aimed at the left half of the green fading in will bounce on nicely towards this large green.
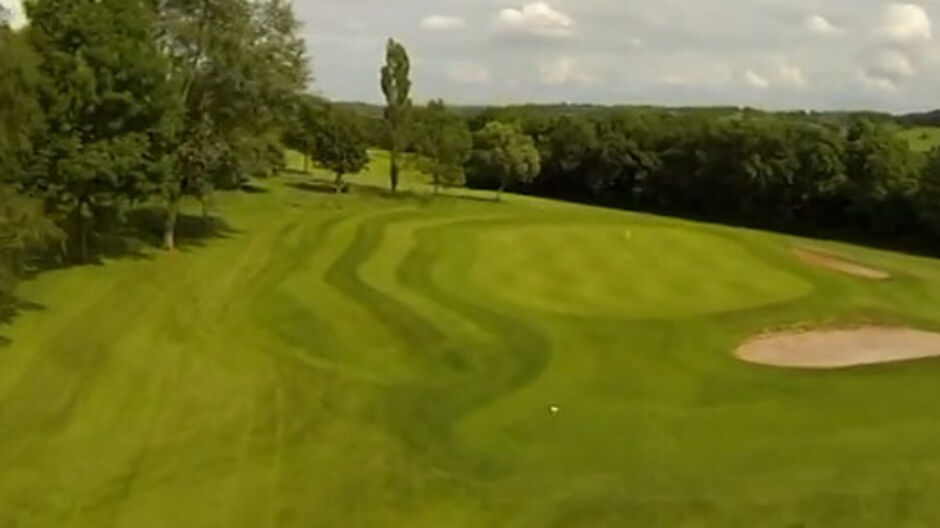
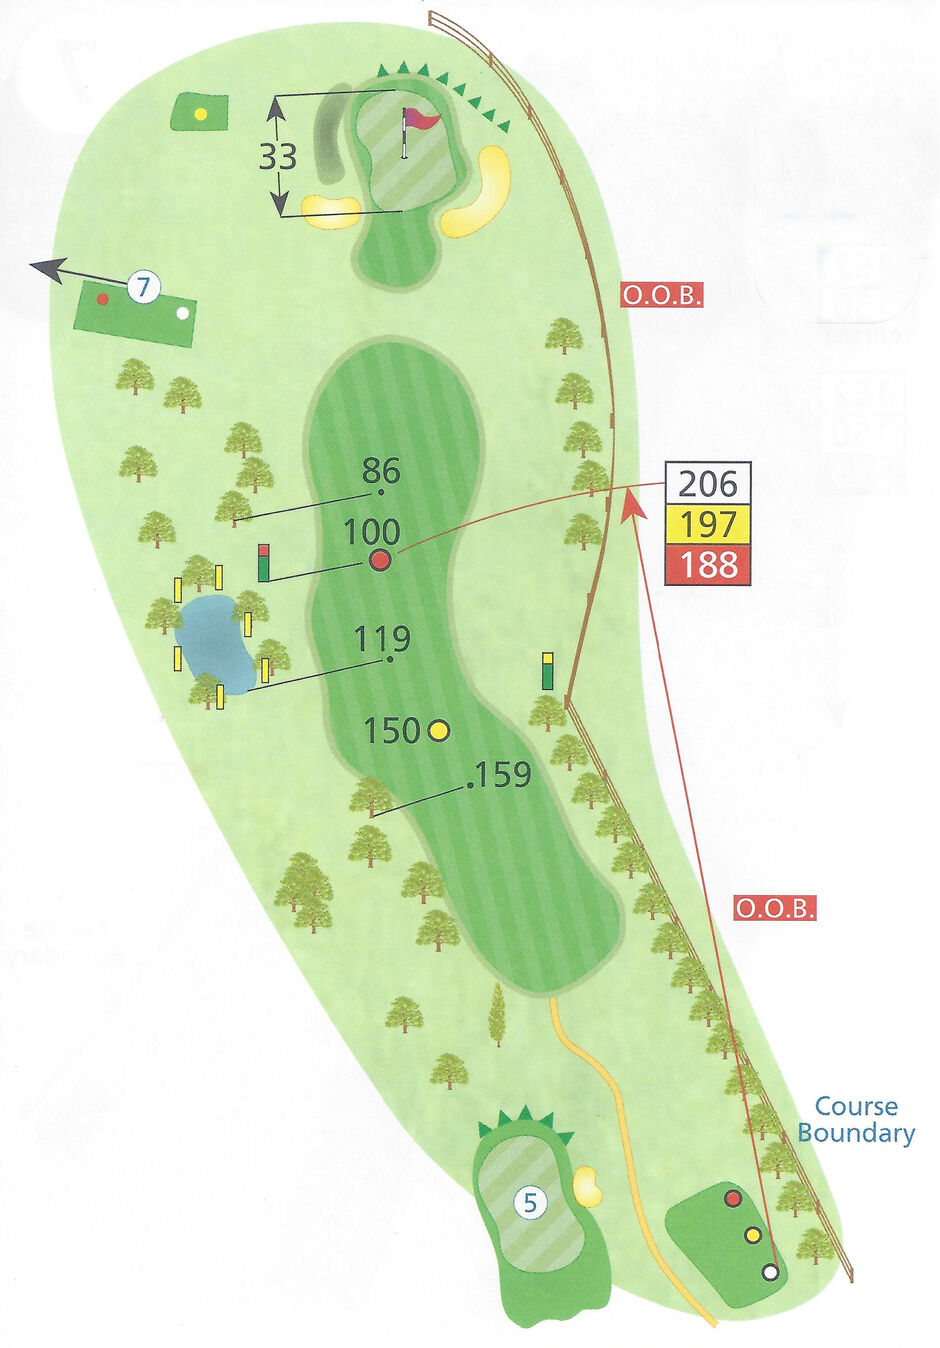
Hole 7 - Par 3
YELLOW - 167 YARDS
RED - 147 YARDS

Pros Tip
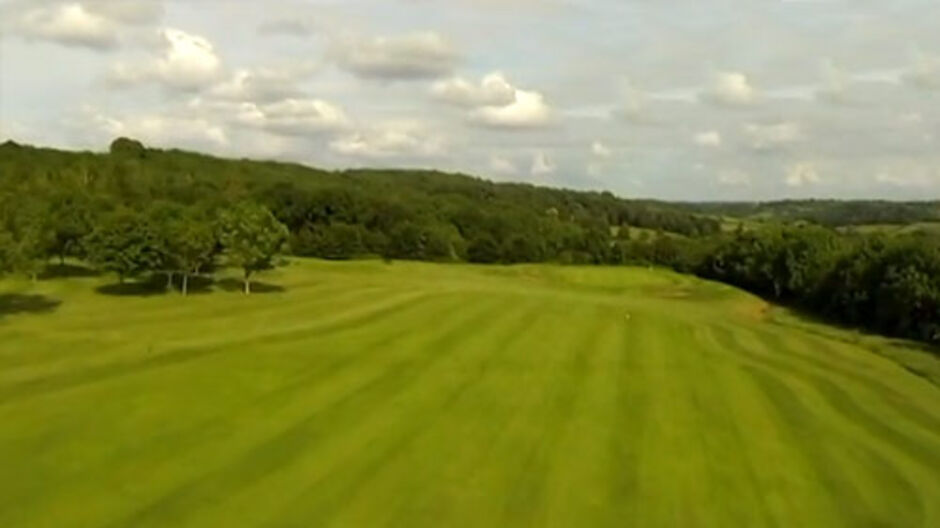
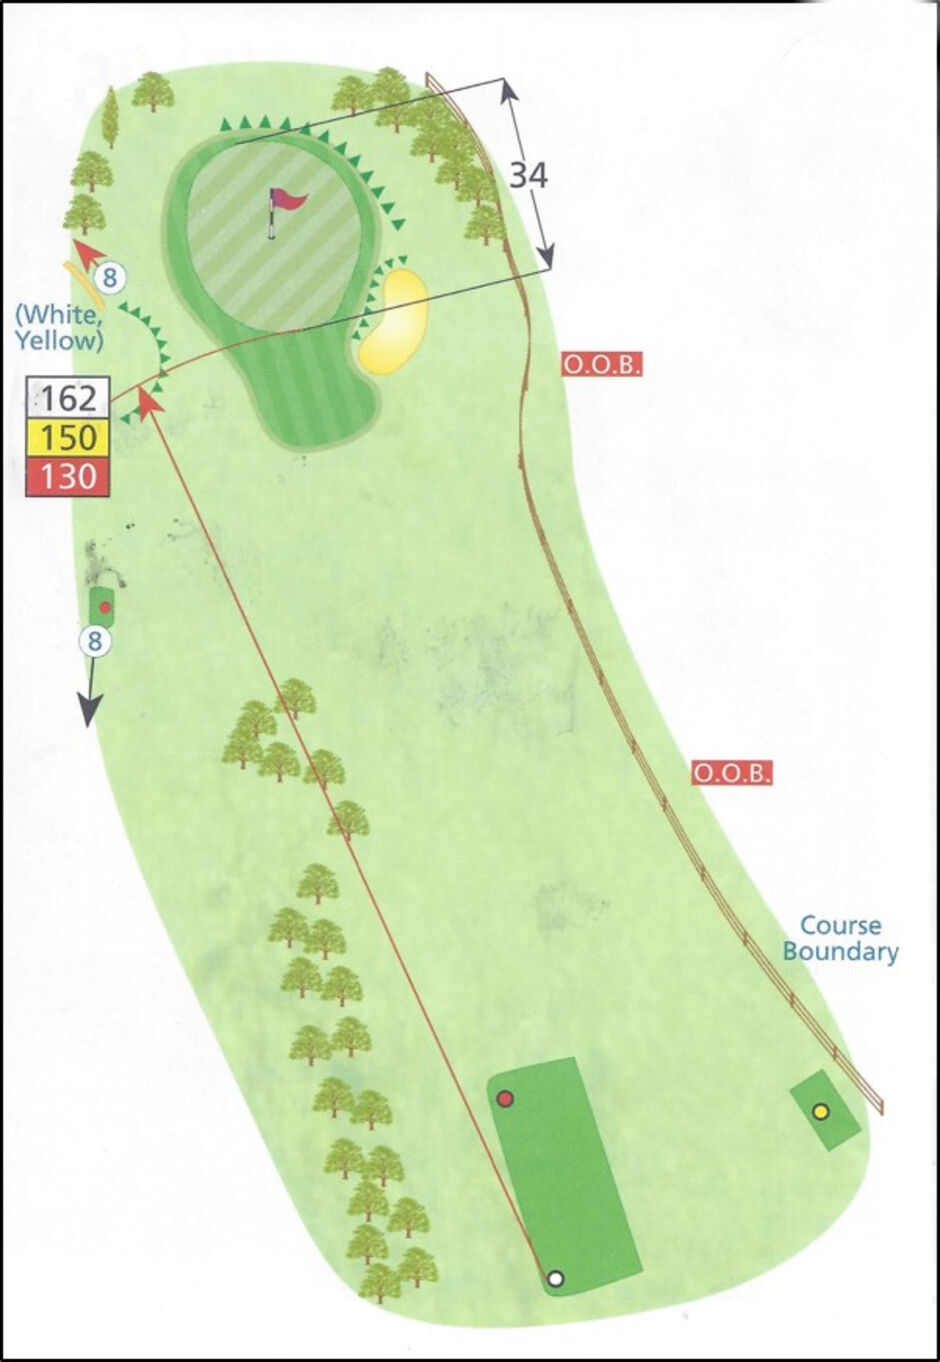
Hole 8 - Par 5
YELLOW - 502 YARDS
RED - 415 YARDS
Pros Tip
Hole 9 - Par 4
YELLOW - 342 YARDS
RED - 311 YARDS
Pros Tip
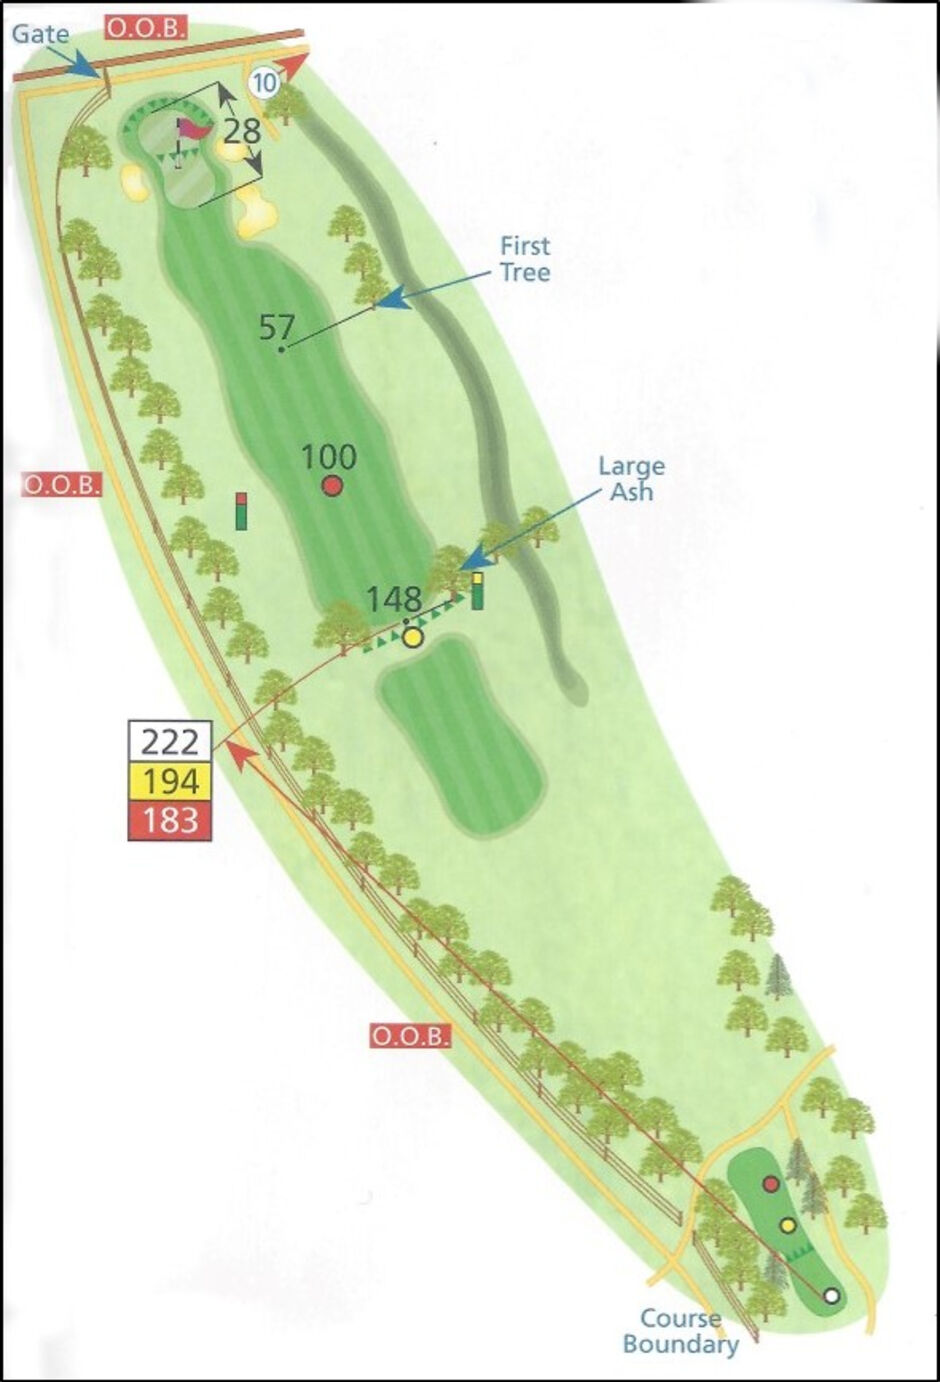
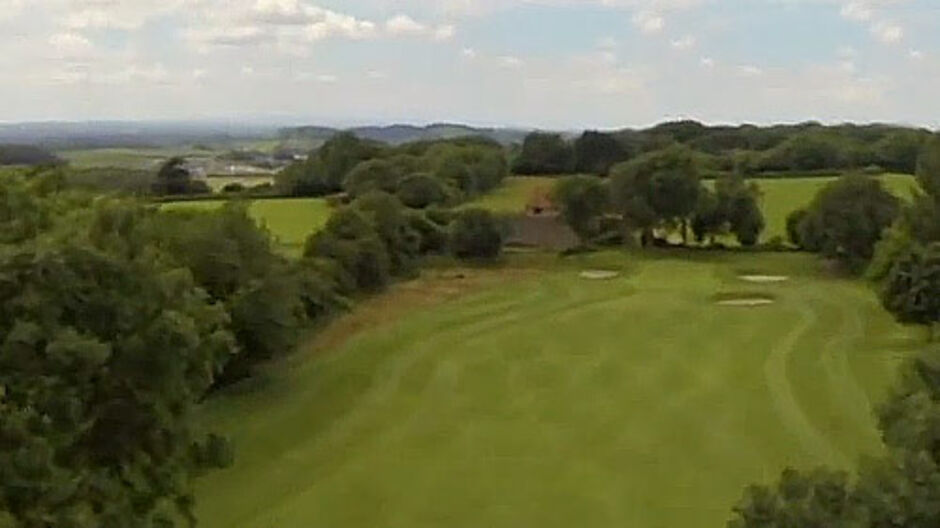
Hole 10 - Par 3
YELLOW - 166 YARDS
RED - 154 YARDS
Pros Tip
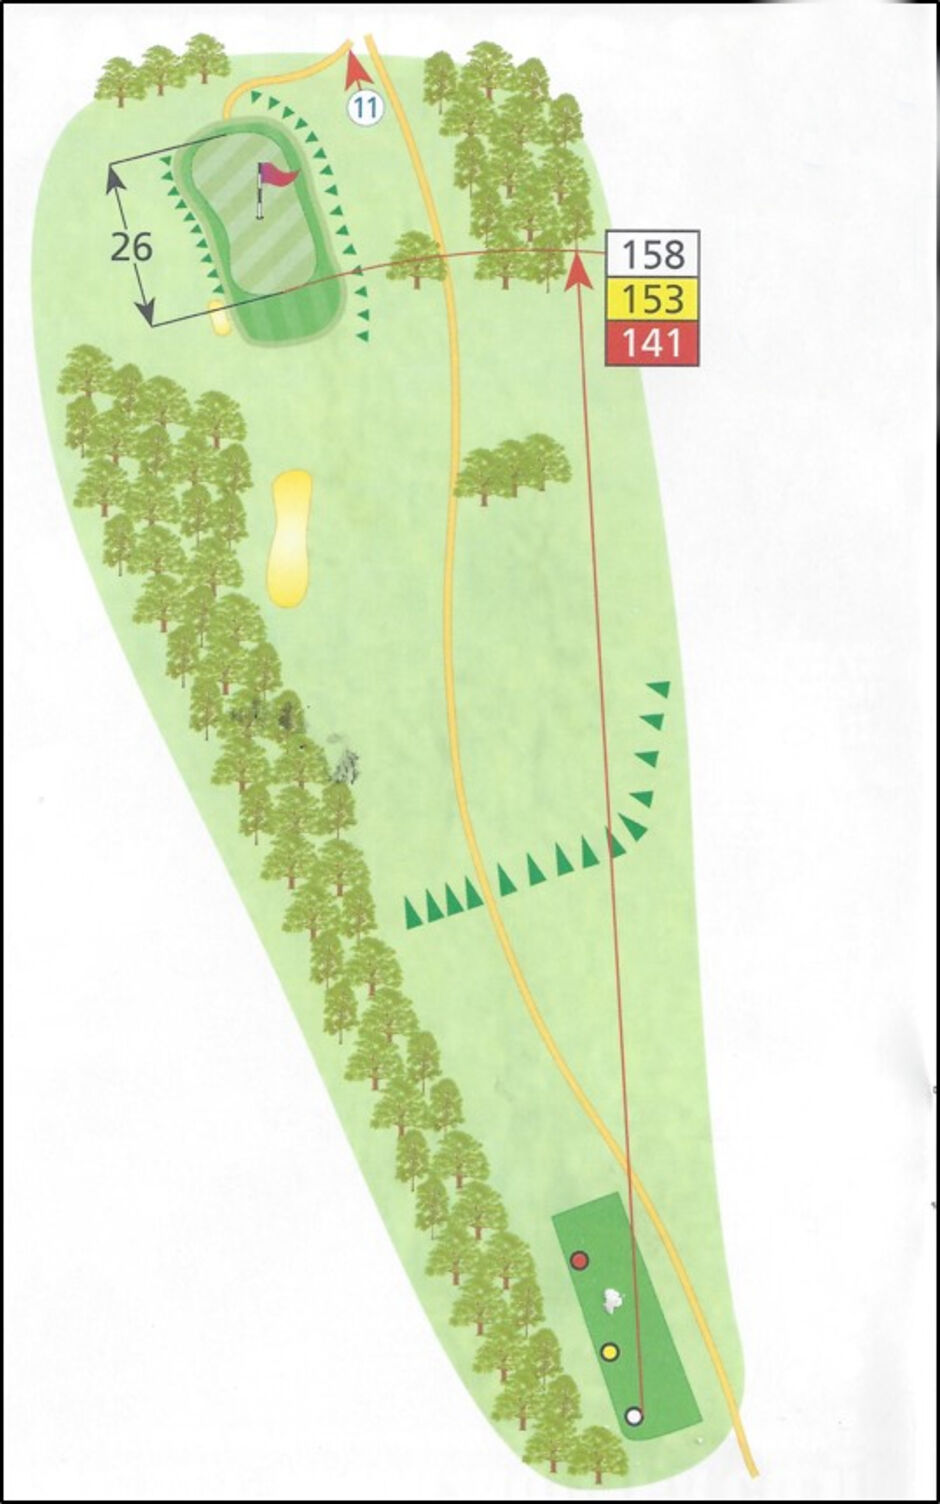
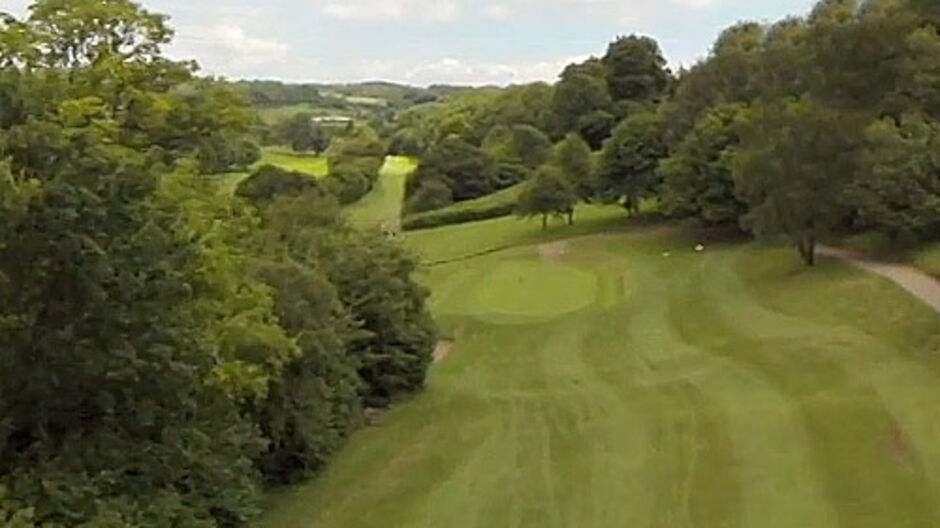
Hole 11 - Par 4
YELLOW - 442 YARDS
RED - 436 YARDS
Pros Tip
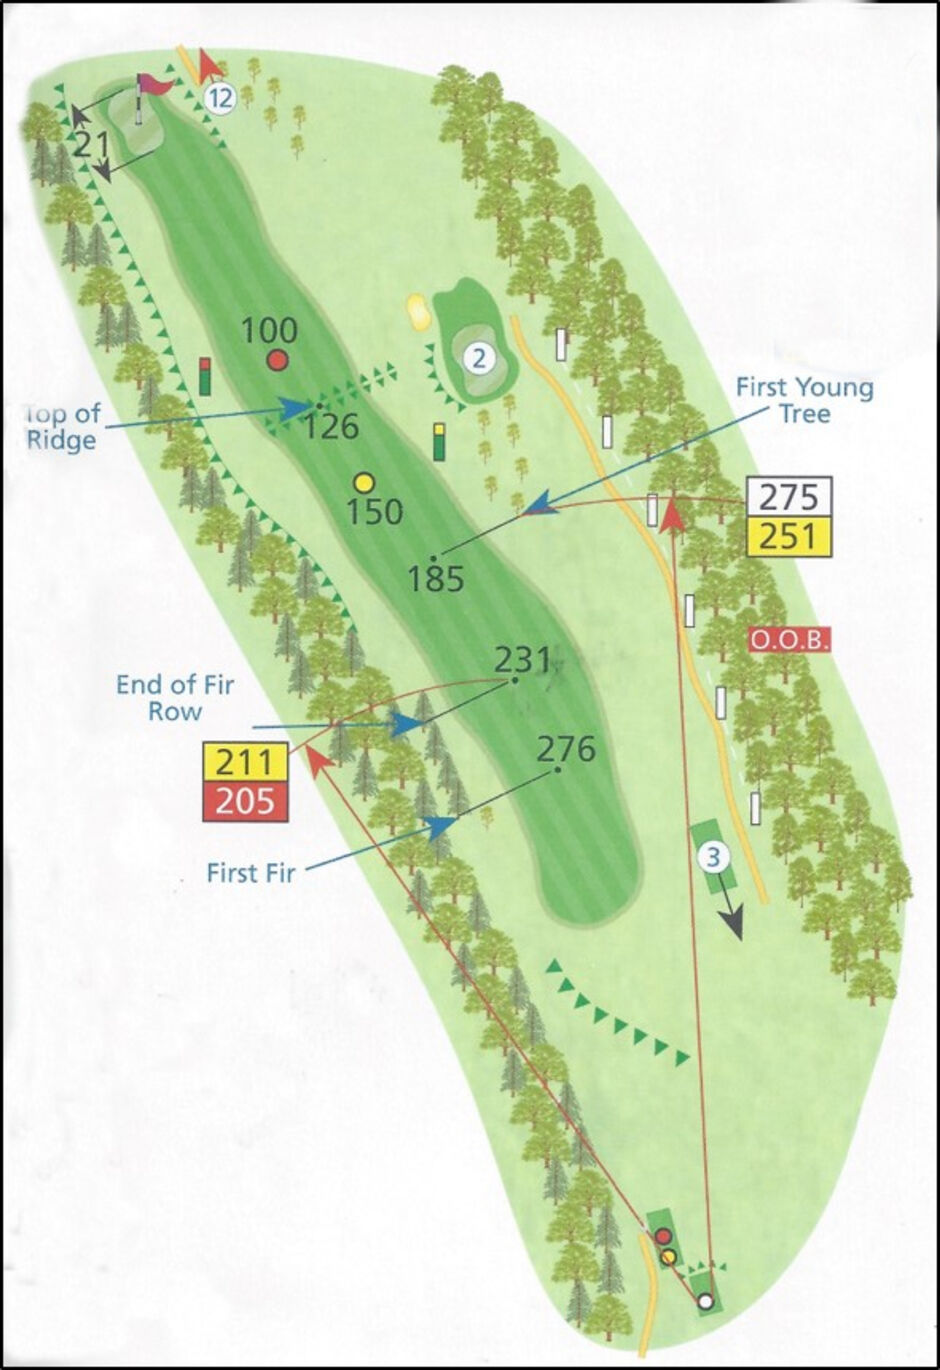
Hole 12 - Par 4
YELLOW - 290 YARDS
RED - 283 YARDS
Pros Tip
Hole 13 - Par 5
YELLOW - 542 YARDS
RED - 527 YARDS
Pros Tip
Hole 14 - Par 4
YELLOW - 287 YARDS
RED - 278 YARDS
Pros Tip
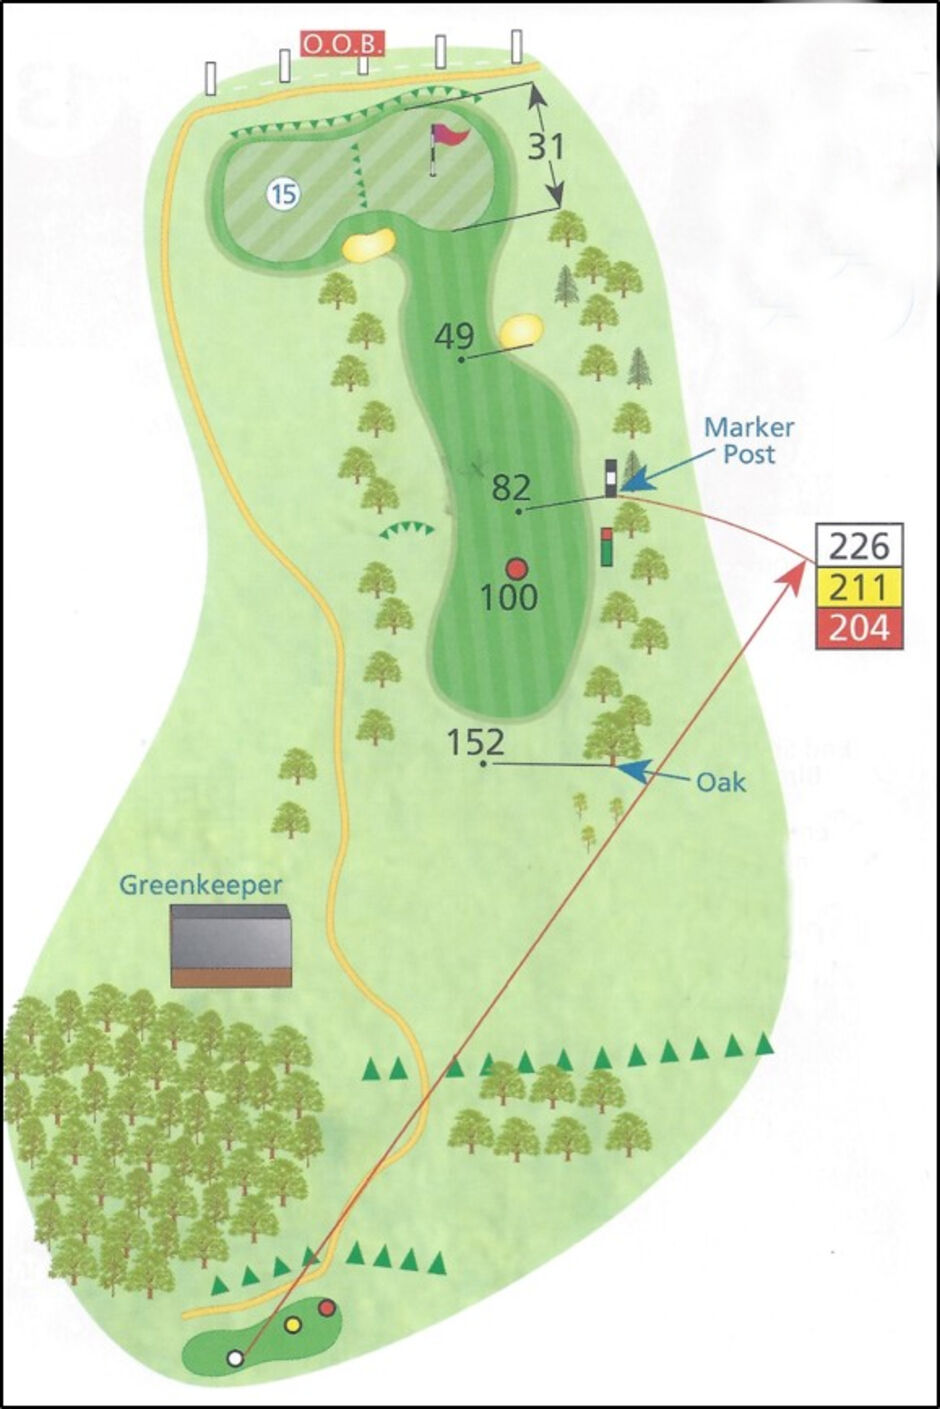
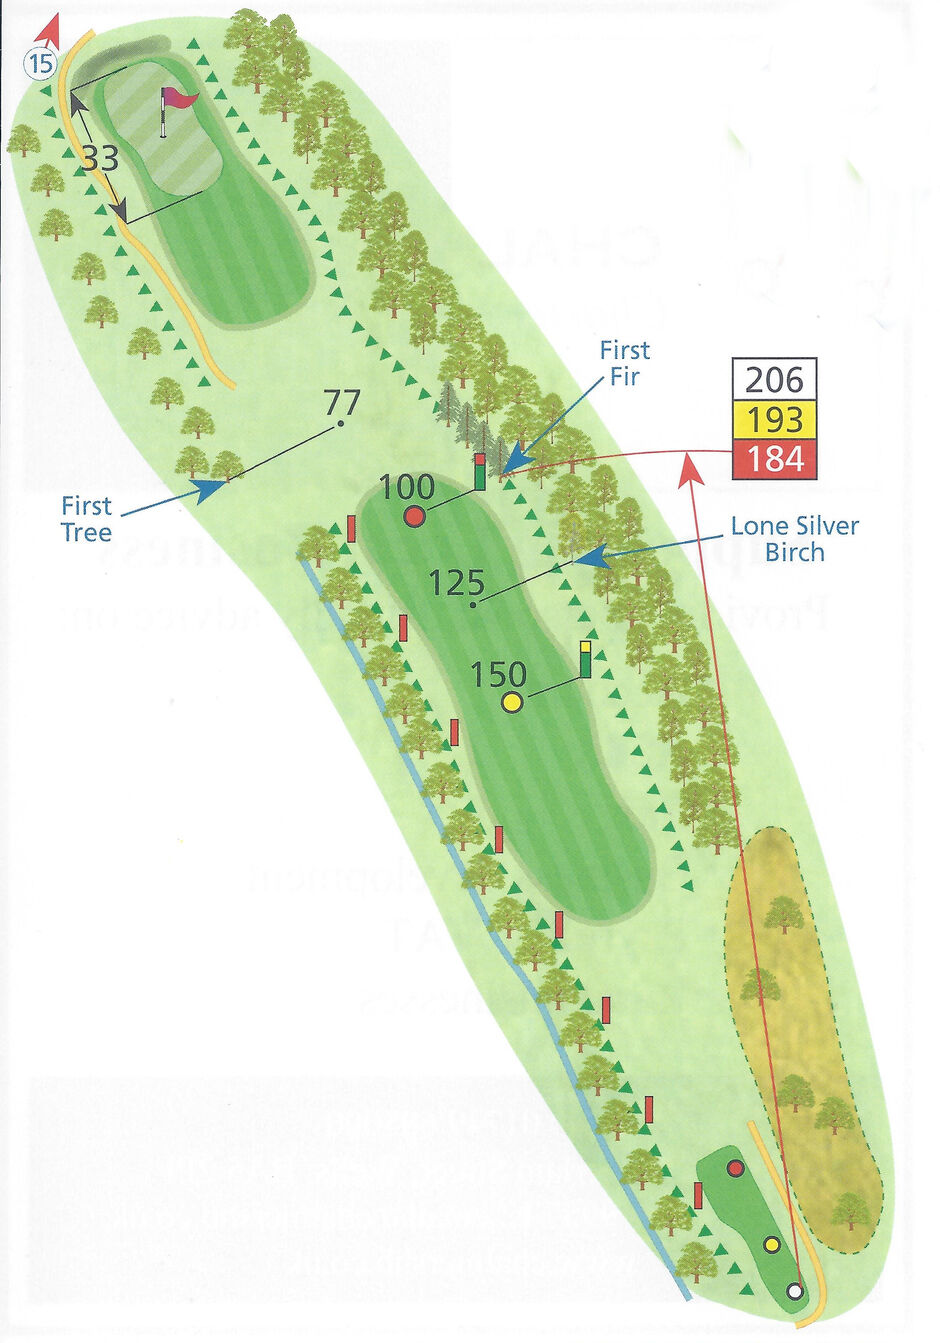
Hole 15 - Par 4
YELLOW - 251 YARDS
RED - 246 YARDS
Pros Tip
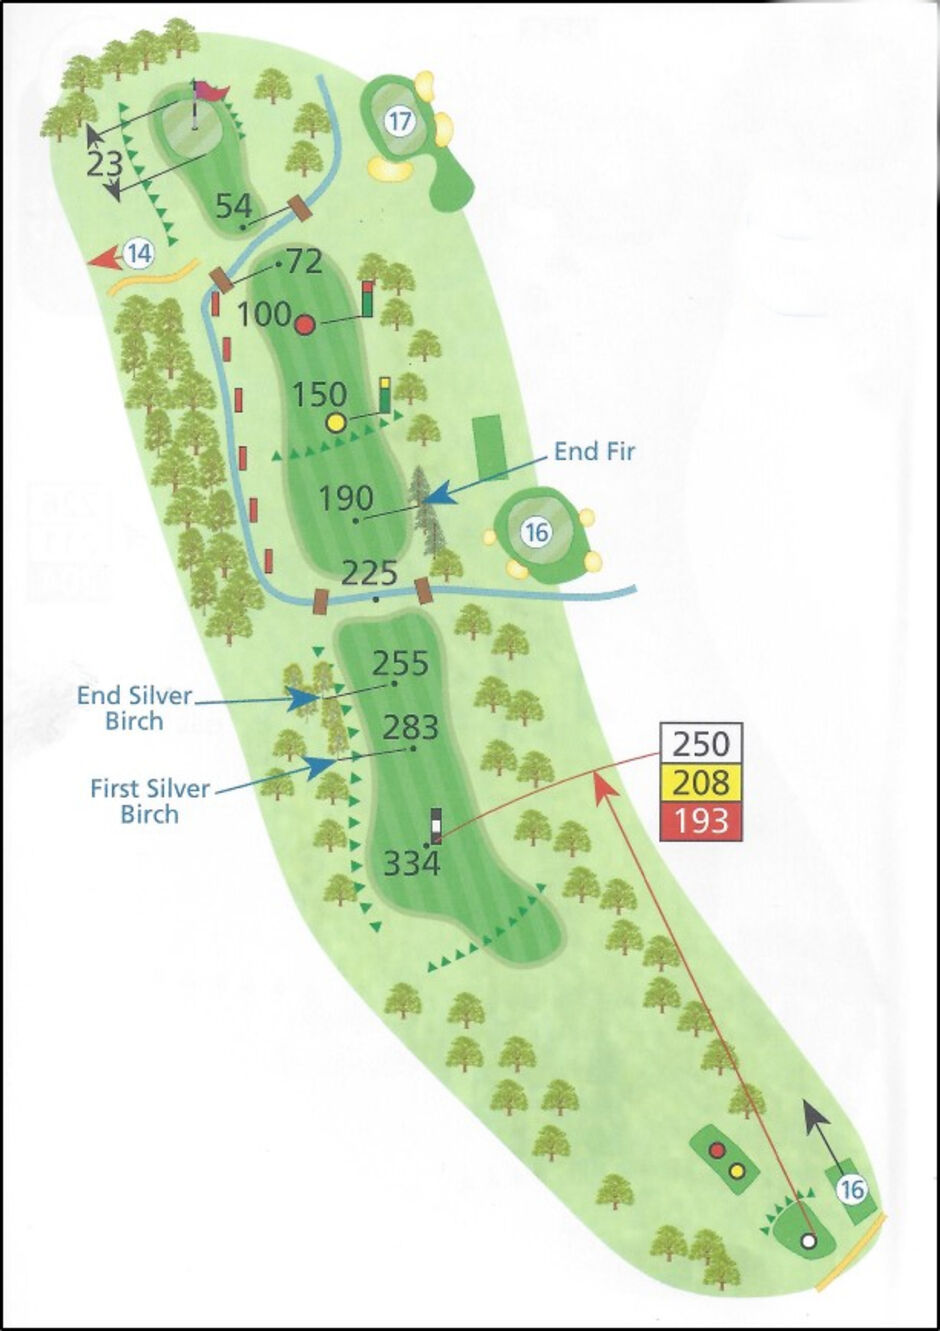
Hole 16 - Par 4
YELLOW - 342 YARDS
RED - 332 YARDS
Pros Tip
Hole 17 - Par 3
YELLOW - 142 YARDS
RED - 130 YARDS
Pros Tip
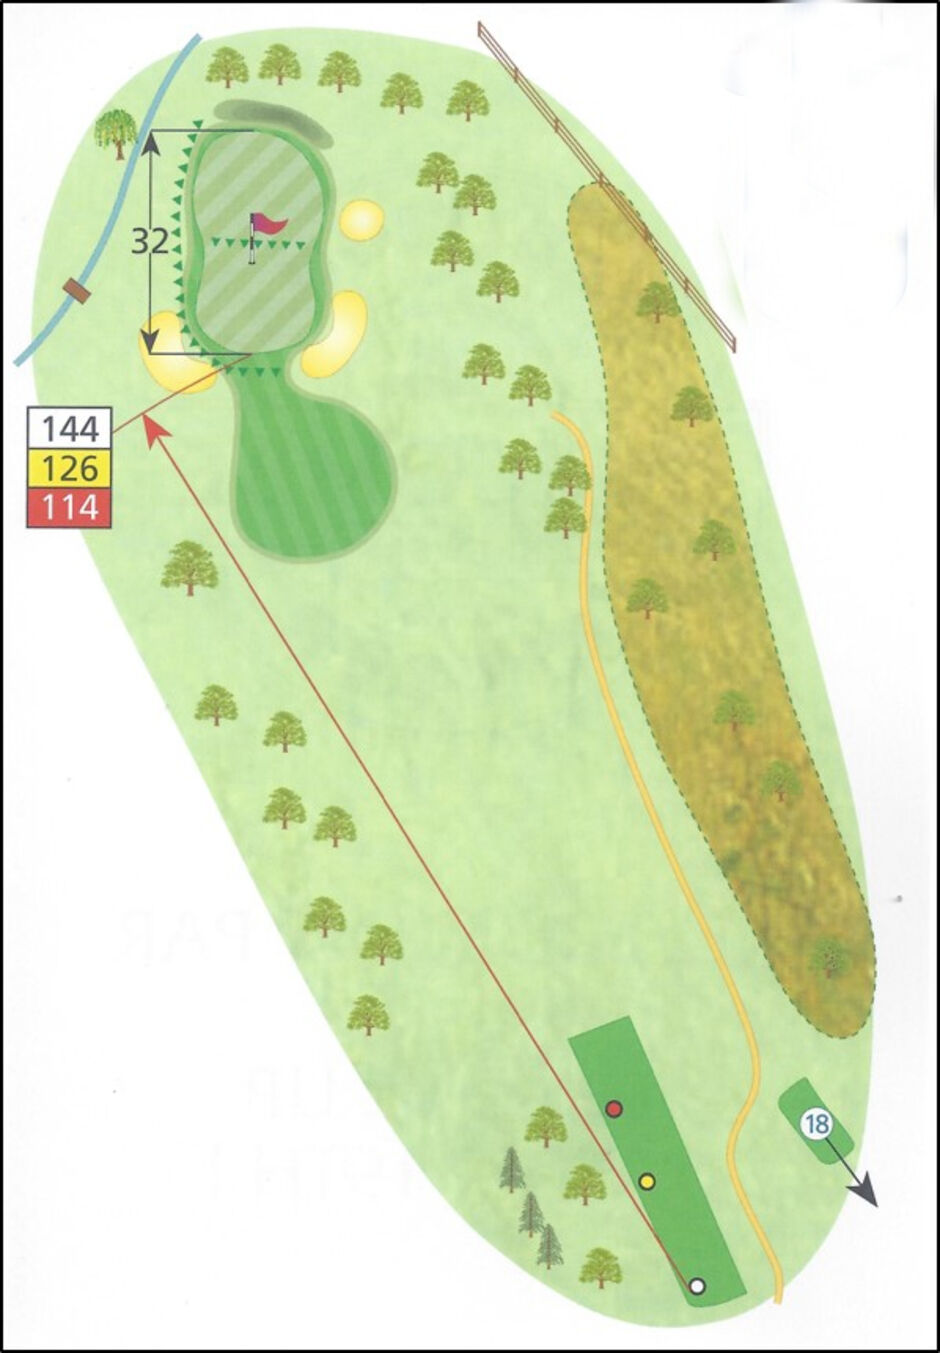
Hole 18 - Par 4
YELLOW - 389 YARDS
RED - 380 YARDS


Created by intelligentgolf version 10.1.2.
Copyright © 2026 Wells Golf Clubs. All Rights Reserved.